
Last Christmas, I wanted to do something special for everyone from the girls. I saw the most adorable hand print snowman ornament on Pinterest that would be perfect! Although I had my reservations about the craft – mainly the paint and painting with 2 kids under the age of 2 (one being an infant) – it turned out to be fantastic. We did have a few mishaps, but that makes for some good stories! Not only did my daughter love helping make these memorable presents, but it was sweet to see her give out the presents to everyone with a big old smile on that face of hers. She felt proud and I knew I had to continue with the tradition this year. I still don’t know what I am going to do, but the wheels are turning and you bet your sweet ass there will be a post about it!
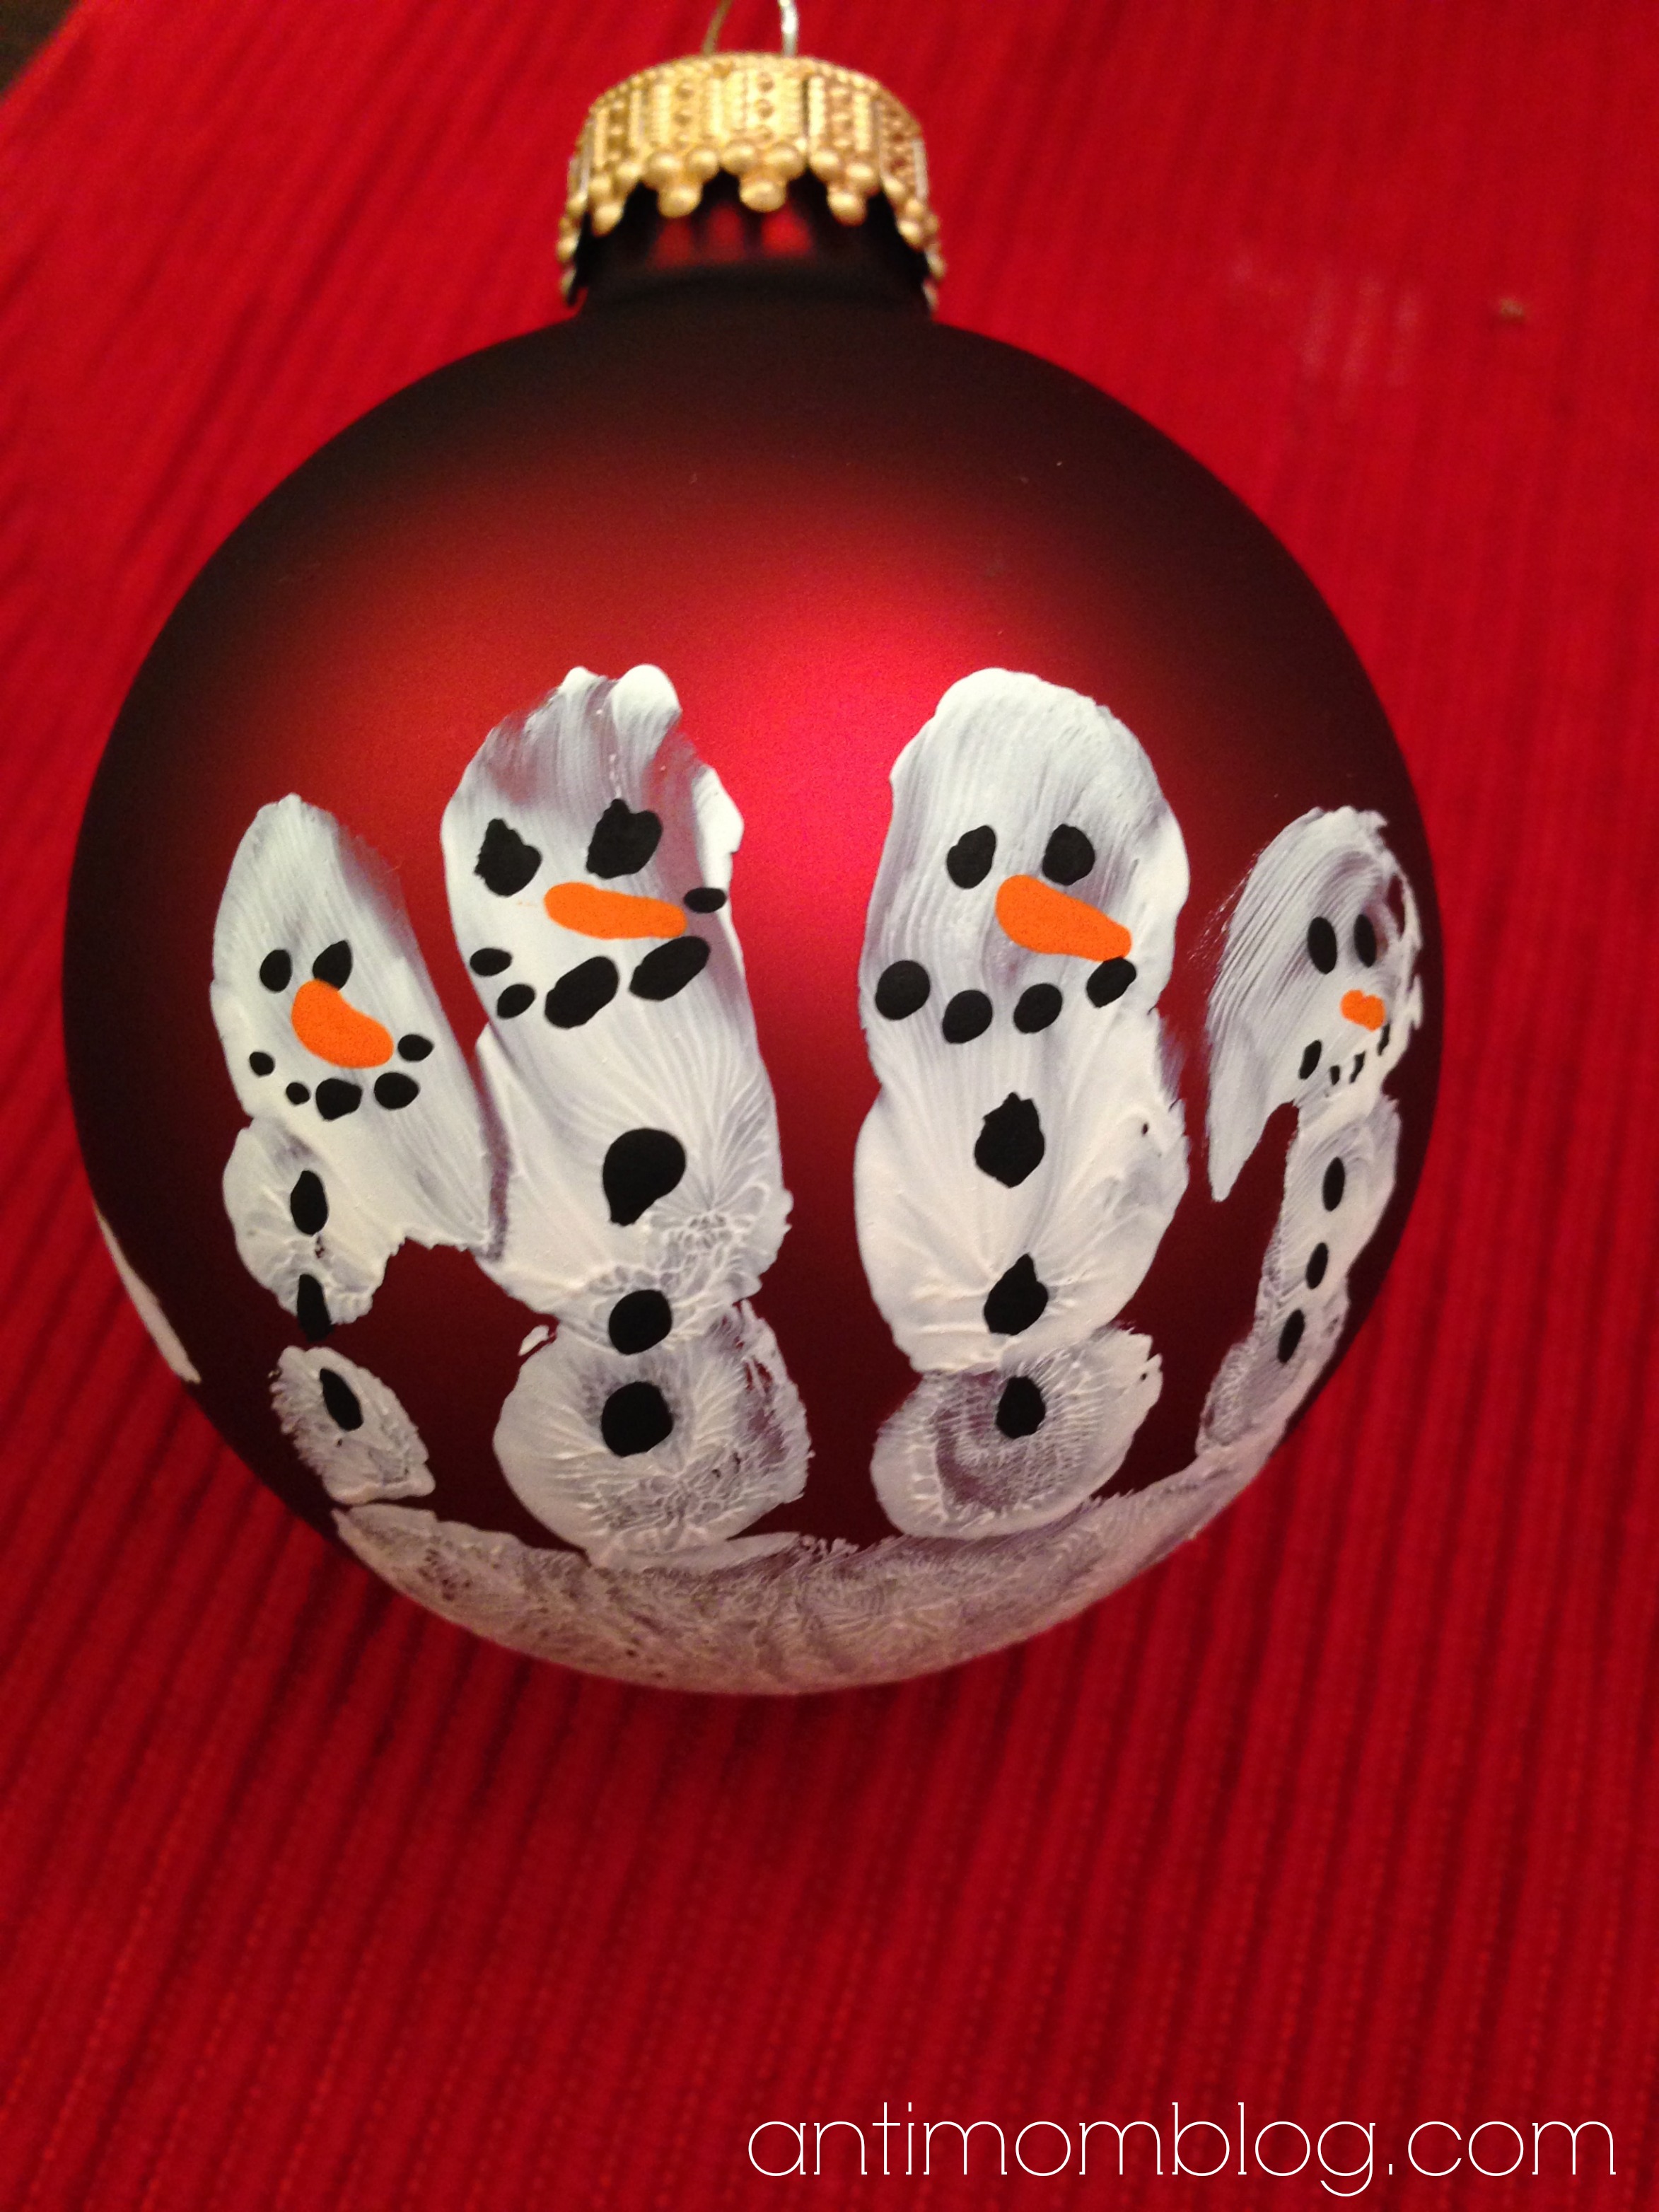
So here is what you’ll need to create your own snowman handprint ornament:
- Box of PLASTIC Ornaments (Red, clear, glitter, frosted – any color you’d like just be sure it’s plastic, we dropped and shattered quite a few glass ones last year!)
- White Acrylic Paint
- Black Acrylic Paint
- Orange Acrylic Paint
- Black Sharpie pen
- Small Paint Brush
- Red, Green or White Ribbon
Directions:
– In a paper (or plastic) plate, squirt some white acrylic paint. You may need an extra pair of adult hands to help you during this part, depending on how many kids you have doing this! I did both kids on one ornament, as their little hands fit perfectly on it.
– Cut and tie ribbon to the end of the ornament so you can hang someplace to dry.
– Dip kids hands in white acrylic paint and gently let them cup the ornament with the white painted hand, with the ornament resting on the palm of their hands and their fingers reaching up to the top of the ornament. You could probably do a few ornaments with just one coat of paint. You could also do your second child at this time or wait till the ornament is dry to do the second child.
– Let the ornaments dry over night (or for a few hours, depending how fast it dries) and you can add the second hand print or begin decorating. I hung mine from the kitchen cabinets by tying them to the knobs.
– With the black Sharpie pen (or if you have a steady hand use the black paint) draw on two eyes and 3 buttons.
– Take the orange acrylic paint and make a carrot nose.
– With the black paint, you could paint on a top hat for the snowman. This can be optional or instead of a hat, you could make a scarf. Let dry over night.
– Make sure you write your child’s name on the bottom of the “snow” along with the date for remembrance.
It’s pretty easy right? It may take a couple days to finish due to the paint but I promise, the recipients will love it! Plus it can be a great tradition every year. If you make one, I’d love to see your final product. Head on over to my Facebook page and post a picture of your handprint snowman ornament!
– Amanda
